Last time around, we cut one of the cables tethering the Raspberry Tank to the outside world by powering the Raspberry Pi from the tank’s internal battery. Today, we get rid of the HDMI and the USB keyboard too – leaving us with a completely un-tethered tank.
Step 1: Enable SSH
By default, the Raspberry Pi ships with its SSH server disabled for security reasons. Rather than configuring sshd from within the Raspberry Pi environment, the easiest (and official) way to enable SSH is to insert the SD card into another computer (e.g. the one you originally flashed the card from). In Linux, the Pi’s Debian distro on an SD card appears as two volumes – one large root volume, and one smaller boot volume. In this boot volume, the file boot_enable_ssh.rc was renamed to boot.rc. When the Raspberry Pi next booted from the card, it did so with its SSH server enabled.
Step 2: Pick a WiFi Adapter
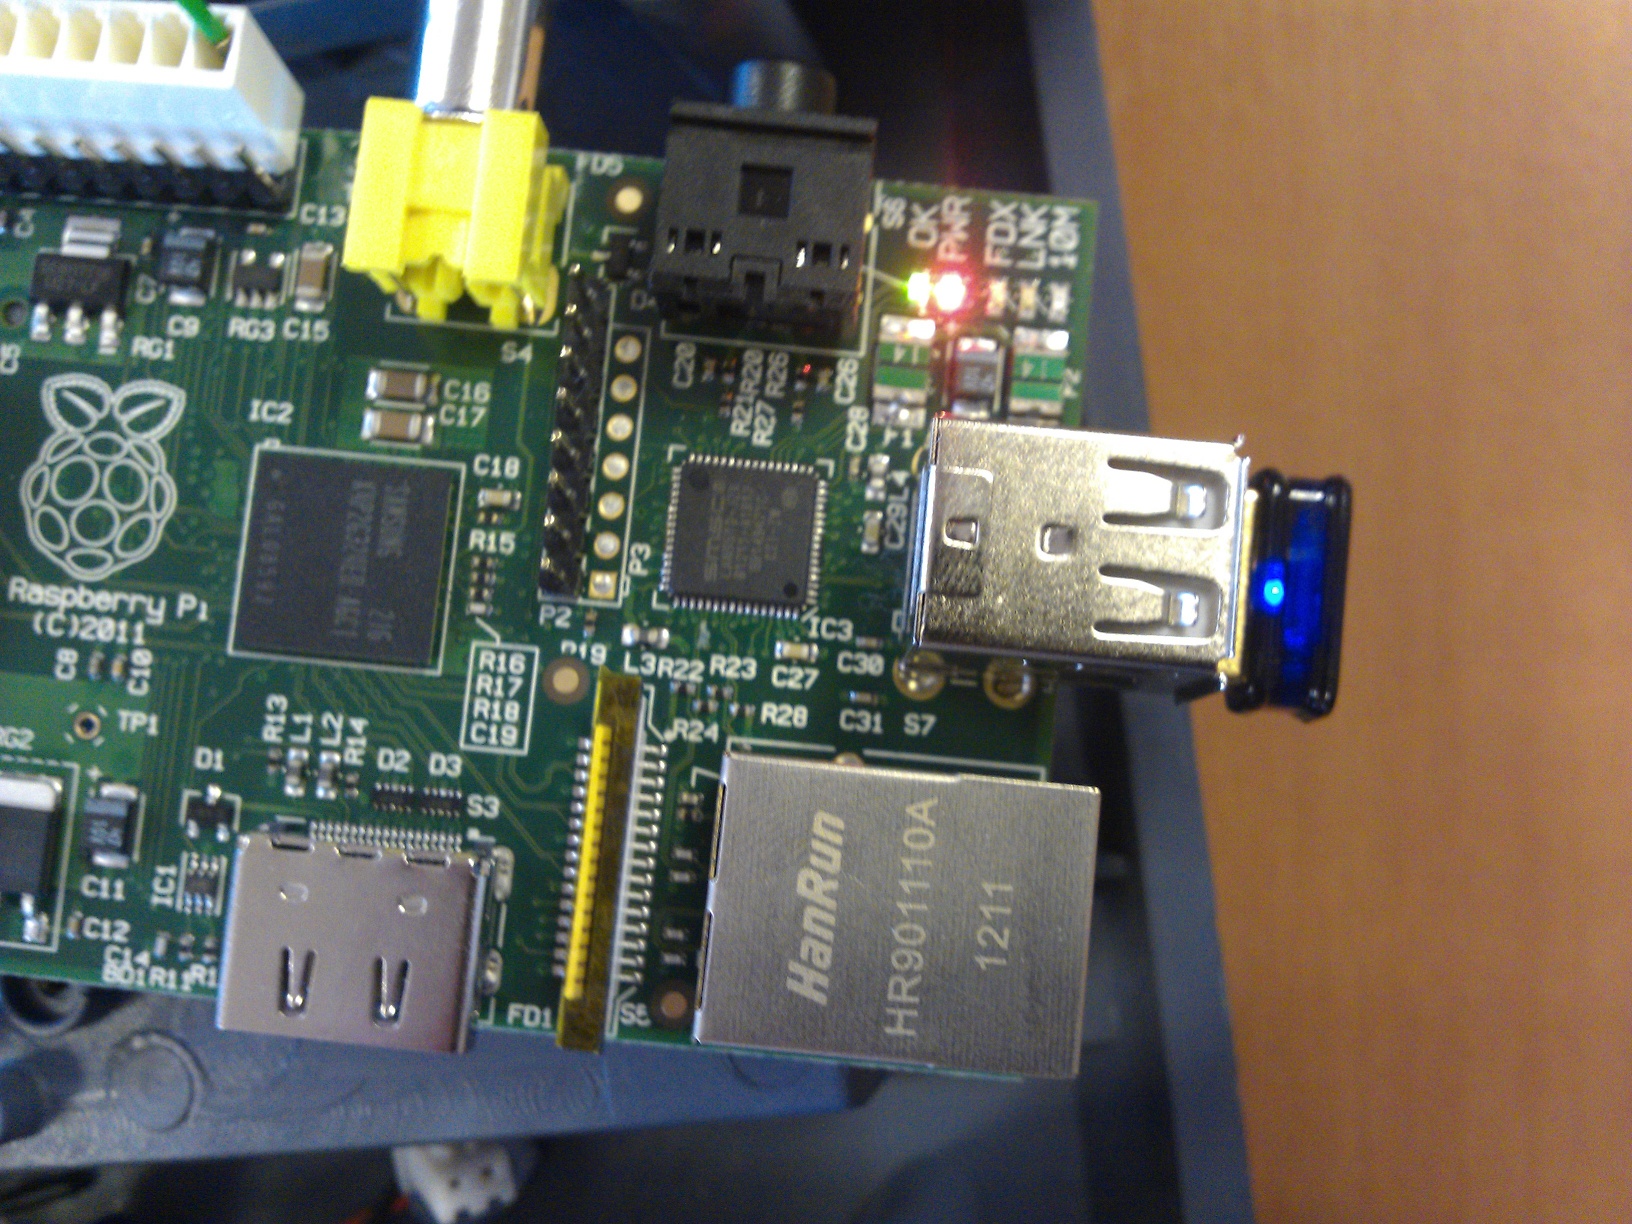
Enabling SSH would allow us to operate the Raspberry Pi over a wired Ethernet connection, but we need to go one further and add a WiFi adapter. I chose a Edimax EW-7811UN device for this, as it had a good combination of small size, low price and proven compatibility with the Raspberry Pi.
Step 3: Set up the WiFi
Thanks to MrEngman’s efforts in the thread linked above, setup for this device is extremely easy. Full instructions are here.
The three required files – the installation scrip, the Realtek driver and the Realtek firmware were downloaded on a machine with internet access and copied to a memory stick. The memory stick was mounted on the Pi, and the three files copied to /boot. (This is the only location from which they will run.)
Before installing the drivers, a wireless network was set up for the tank to connect to, using the Portable Hotspot feature of my tablet. It was configured with the network name (SSID) “testwlan”, PSK2 security, key “testwlan”.
The driver install script was then executed by running sudo sh /boot/install-rtl8188cus-latest.sh. When prompted by the script, the SSID and key were entered, then the WiFi dongle was inserted. Sections of the script that assumed an internet connection were ignored.
The Pi was then rebooted, and within a minute of booting, the Pi was connected and accessible on the wireless network.
At the end of the procedure, my /etc/network/interfaces file looked like this. (Note that I had separately configured eth0, so your eth0 may look different.)
# Used by ifup(8) and ifdown(8). See the interfaces(5) manpage or
# /usr/share/doc/ifupdown/examples for more information.

auto lo
iface lo inet loopback

auto eth0
iface eth0 inet static
address 10.0.0.1
network 10.0.0.0
netmask 255.255.0.0
#iface eth0 inet dhcp

allow-hotplug wlan0
auto wlan0
iface wlan0 inet dhcp
wpa-ssid "testwlan"
wpa-psk "testwlan"
Step 4: SSH Remote Control
The motor test application was modified such that instead of continually sending forward, backward, left and right commands, it instead waits for keyboard input. W, A, S and D (each followed by the Enter key) commanded the tank to move forwards, turn left, move backwards and turn right respectively. The “.” key was used to exit.
You can download this version of the code from GitHub.
With this in place, we now had the capability to control the tank’s motors from the tablet PC, with no connecting wires. So with the tank now fully wireless, there was nothing left to do but to put the tracks back on!
Add a Comment