With the Raspberry Tank now completely wireless, all it needed was its tracks back, and it would be able to drive around!
Although the tracks were originally removed to allow access to six screws attaching the upper and lower chassis together, I decided to re-attach the tracks without the upper chassis in place, as this would allow the vehicle to drive around while still providing access to the electronics.
Step 1: Move the Wheels Back
On Day 3 of the Build Diary, we removed one set of wheels from each side of the tank, and used the extra space to move three more wheels on each side to allow access to the screws. Undoing this procedure in reverse order, I first returned the three moved wheels to their rightful place – with their axle extending into the curved slot which provides the suspension.
Step 2: Reattach the Missing Wheels
With their space now freed up, the missing wheels were reattached. This was a slightly more fiddly process as the axles first had to be screwed into the spring-loaded suspension mechanism before they could be slotted into the curved holes.
Step 3: Add the Tracks
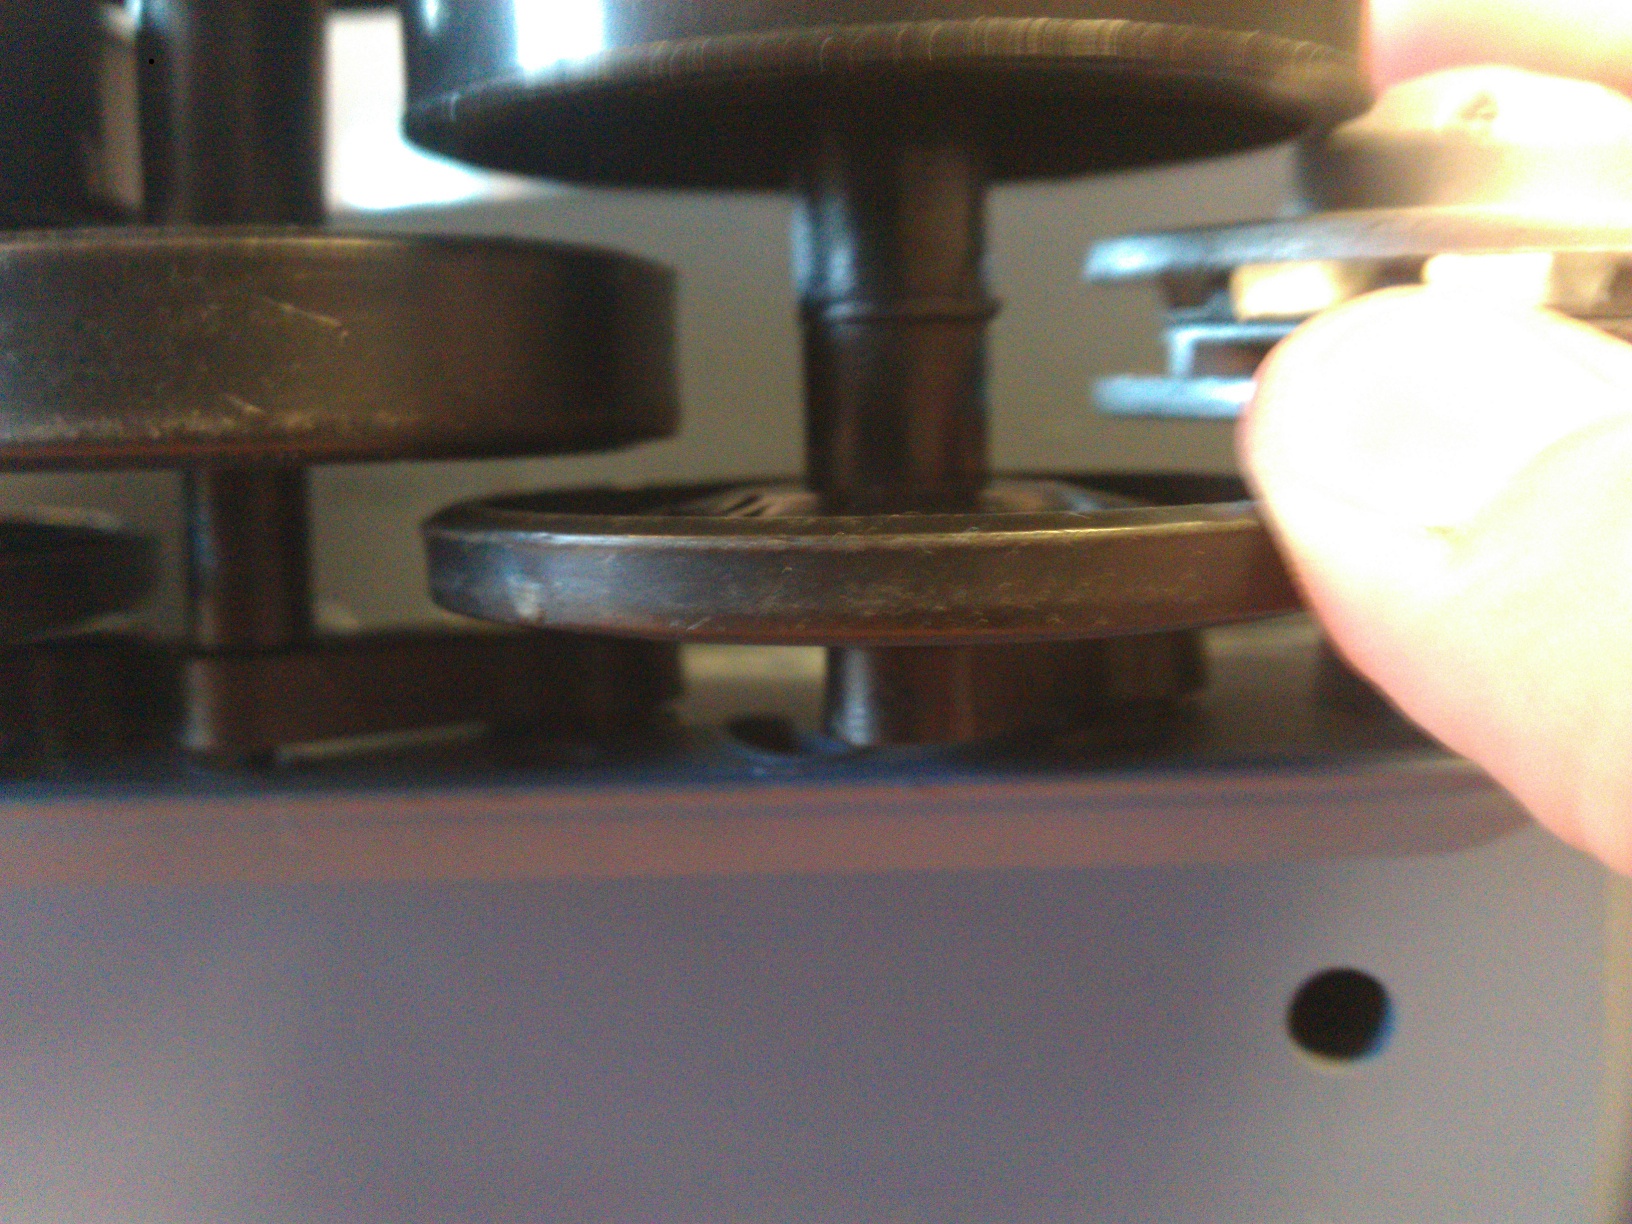
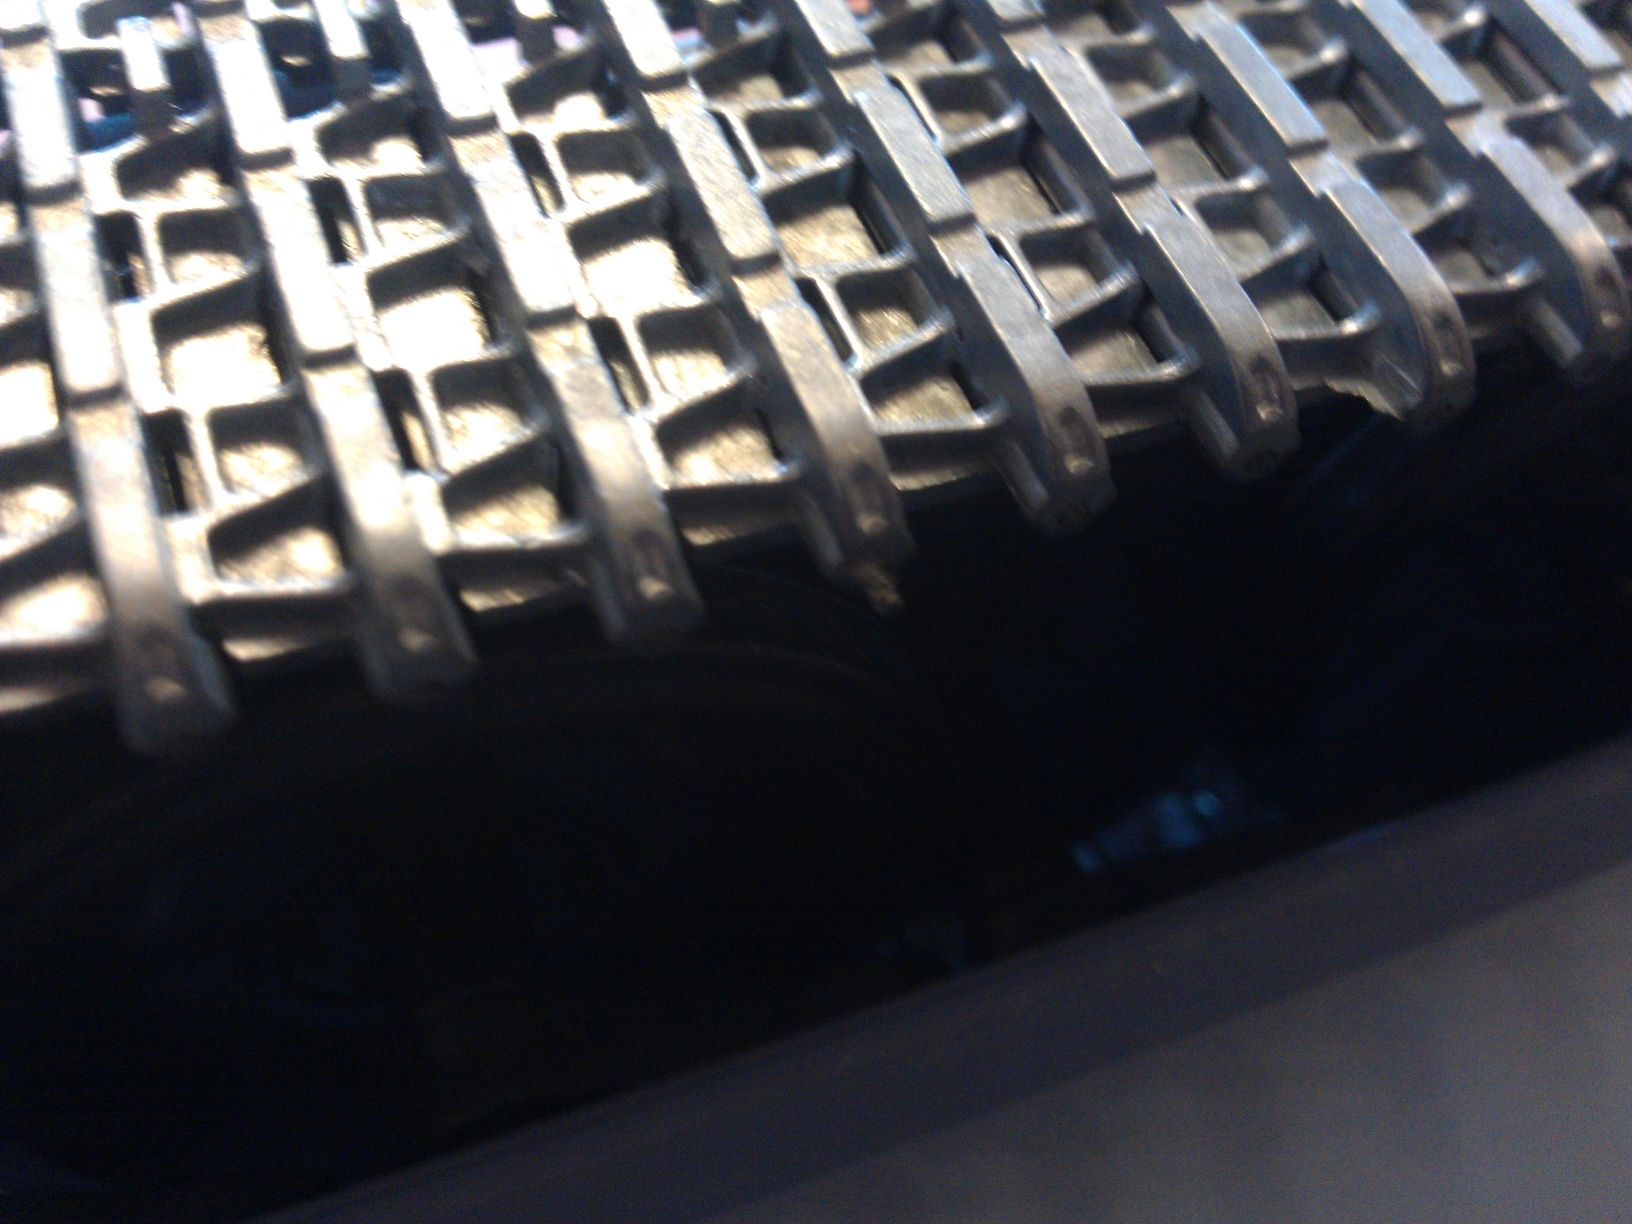
The tracks were then reattached to the tank. The two rows of prongs on the underside of the tracks go nearest to the vehicle’s chassis, creating a groove that the rear guide wheel runs in (pictured below left). To the outside of the tracks is a row of small holes – the teeth of the drive wheels sit in these holes and transfer motion to the tracks.
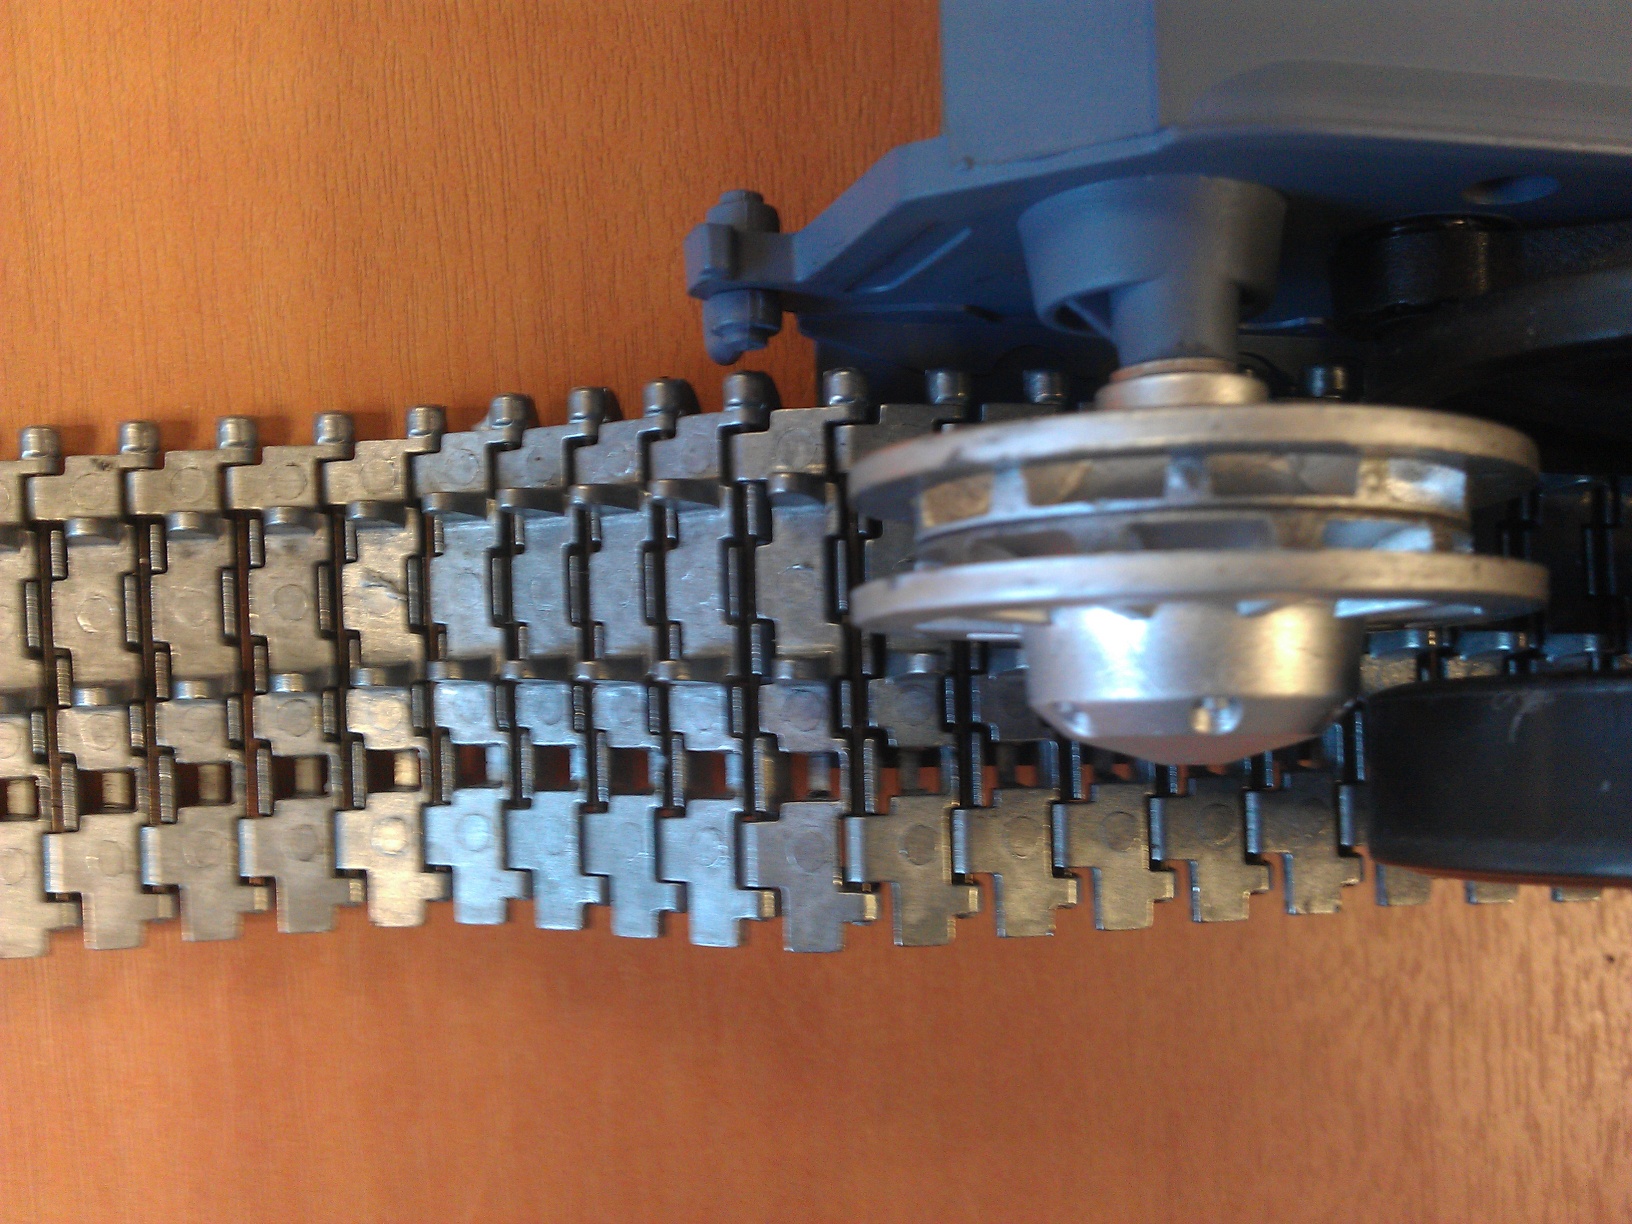
Once the tracks were lined up, they were pulled around the wheels as tightly as possible, and fixed in place with the pins that were removed on Day 3 – pushing outwards from the centre of the vehicle (pictured below right).
Step 4: Photoshoot!
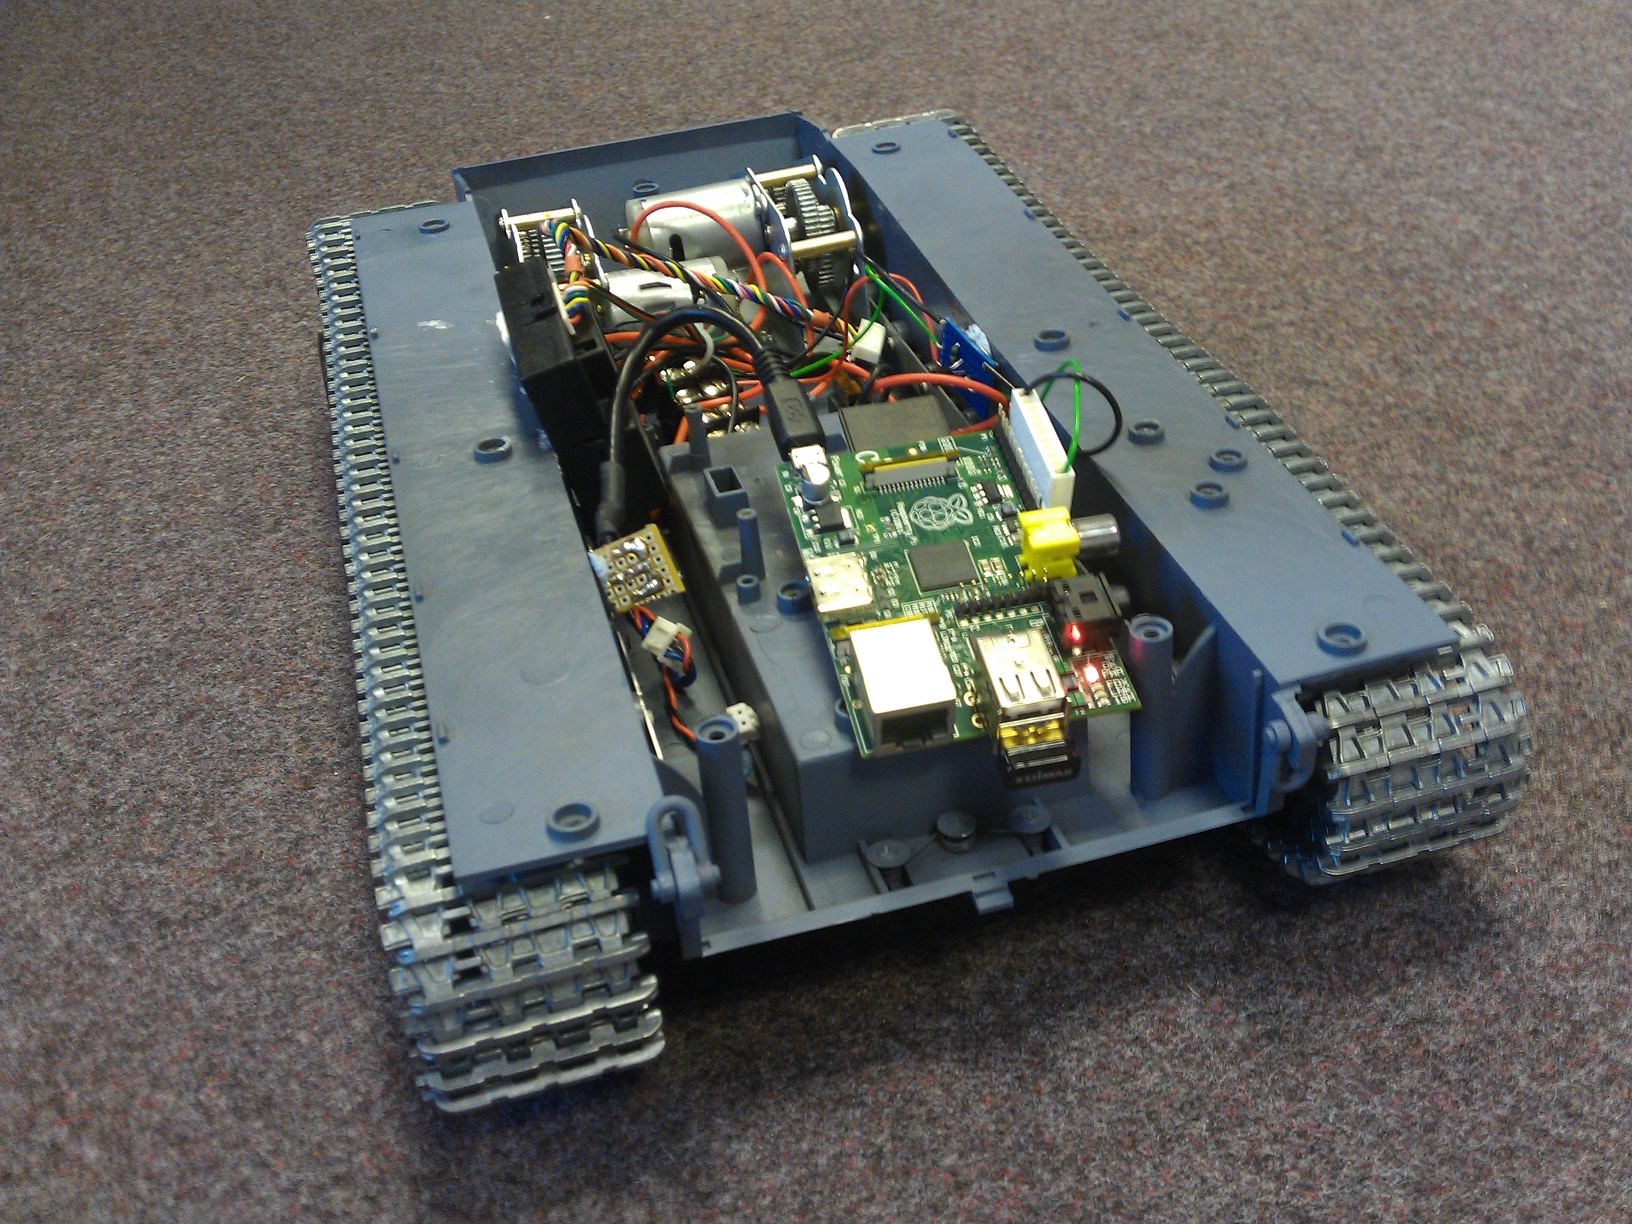
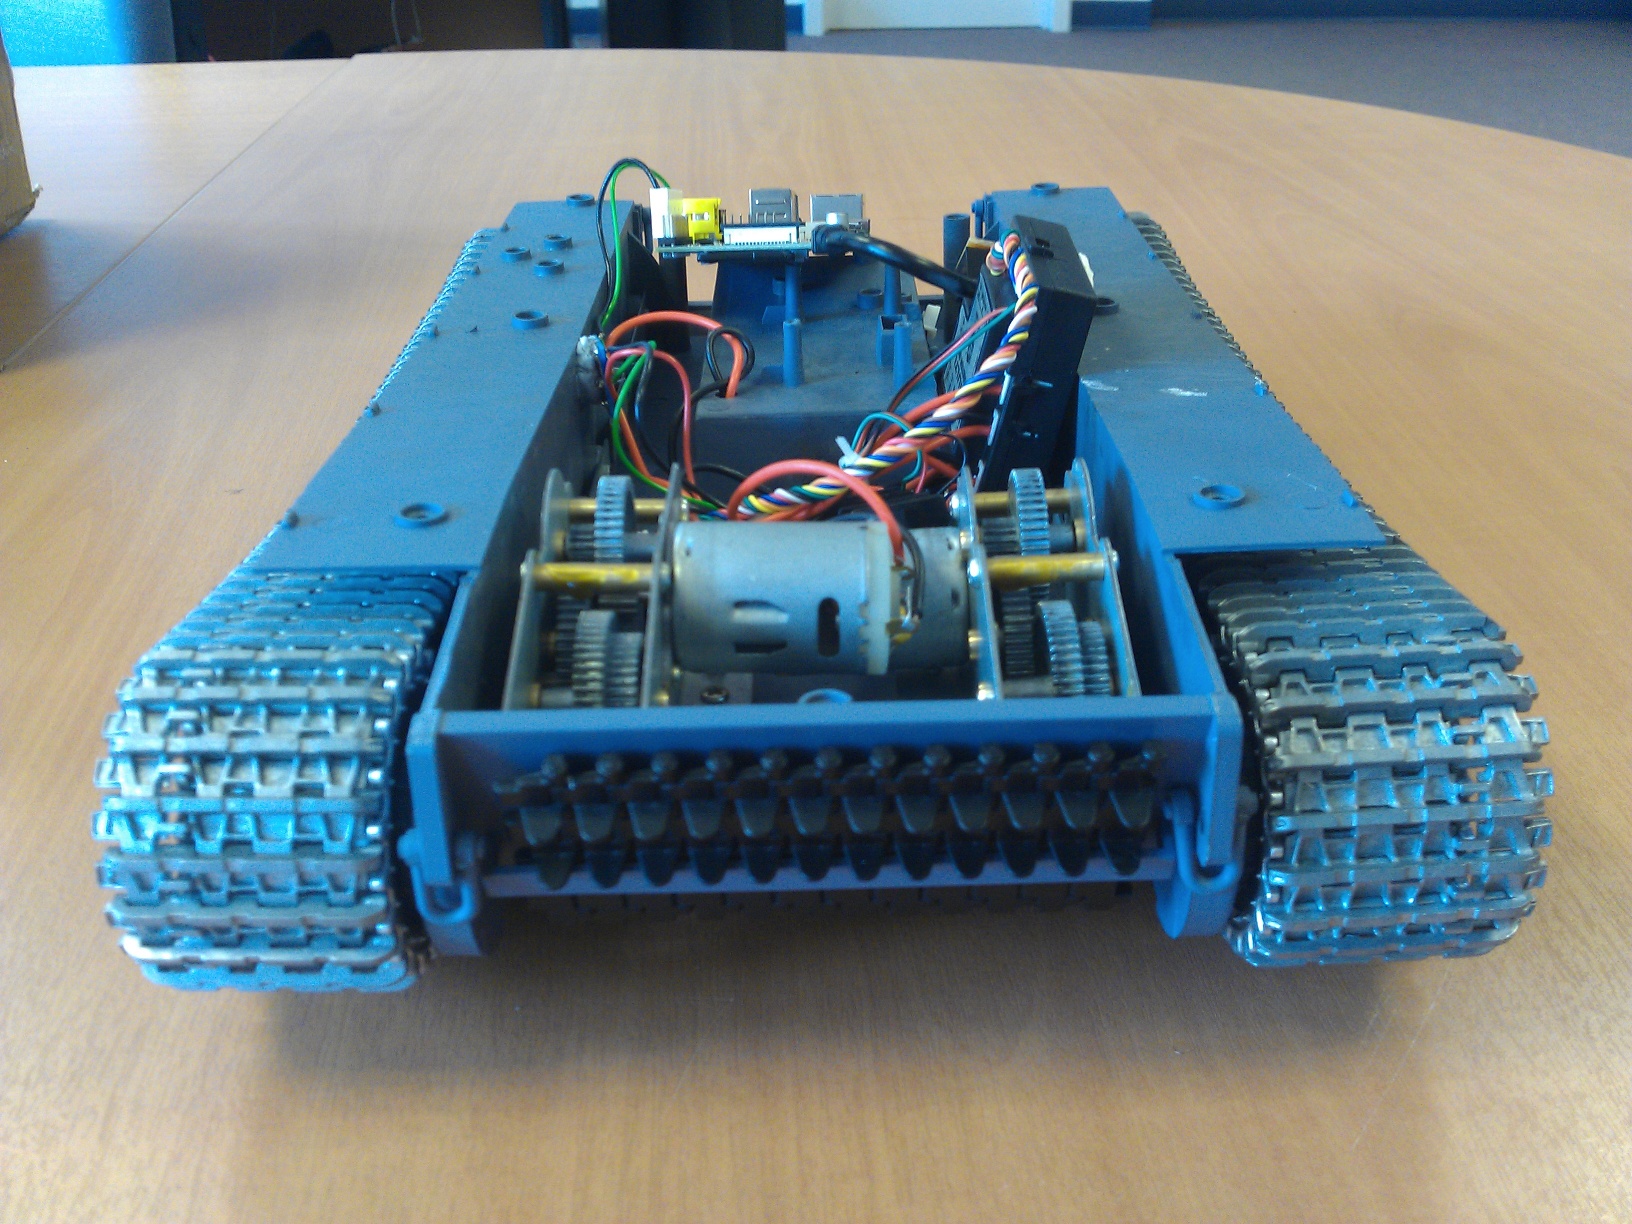
Step 5: On-floor Testing
With tracks attached and the Raspberry Pi fully wireless, the tank was placed on the floor. The tablet PC connected to the Raspberry Pi over SSH, ran the control program, and controlled the tank using keyboard input. …Sort of.
The tank went forwards with no trouble at all, but when asked to go backwards or to turn, the motors strained but nothing happened. A quick check with a multimeter showed that these commands provided only around 1 volt to the drive motors, while the “forward” command provided around 5 volts. Although the wheels had spun on the bench, the added resistance of the metal tracks and hauling the tank’s weight were too much for it.
Forwards was fine, so it wasn’t a low battery issue – so why were left, right and reverse so feeble compared to forwards? It seemed likely that we were using the wrong command codes, so stay tuned for Day 12 of the Raspberry Tank Build Diary: Cracking the Code (Redux)!
Add a Comment